The Great Potato Fake-out


This week at the allotment I’ve noticed a few crops are starting to show signs that the time for harvesting is getting closer.
The quick crop radishes have suddenly bulked up and I was delighted to see the different coloured radish tops poking up out of the ground. 

I’ve been patiently waiting for what seems like forever for the strawberries to ripen and within the last week they’ve finally decided to put me out of my misery and turn a gorgeous deep red. 


The broad beans have continued to flower and the first pod has been picked, just as a tester to see how they’re doing! I’m more than happy with the sight of more and more beans developing and that there’s no black fly in them yet…happy days! 


The peas have started to flower, which I’m really pleased about, especially after I was so late in sowing this year. The peas are a double podded variety (Hurst green shaft) and there are loads of double flowers dotting about the crop. 

   
 Bolstered by the happy sights at the allotment I thought I’d chance my luck and check on the potato progress. For the first year ever, I’ve got flowers on the potatoes. I never realised how pretty they are. 

  
The first potential potatoes for me this year will be the international kidney. Earlier in the week I had a little dig around the bottom of the potato mound and lo and behold I discovered a lovely perfectly formed potato. 

  
Brilliant. 

This must be a good sign I thought. 

They must be ready I thought. 

They’ll make a lovely potato salad for lunch on Sunday I thought. 


Not quite the haul I was expecting! 

Not to worry, at least I know they’re growing, I’ll leave then another 3-4 weeks and I think they’ll be perfect. 

The taste of summer

  
I’ve been a busy bee over the last couple of weeks, particularly in the kitchen. The best part of growing your own food has got to be eating it. Hands down, homegrown tastes the best each and every time, no matter what it is or what it looks like. I’ve been eagerly waiting for this specific time of year as the two things which sing “summer” to me are in season right now. 

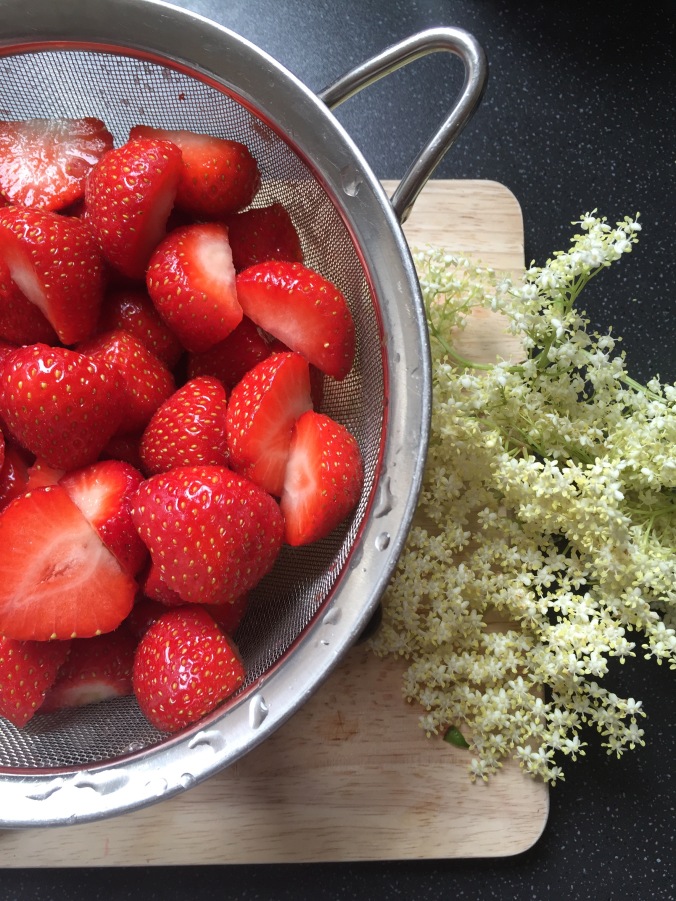
Elderflowers and Strawberries

Until last year, I’d never really tried anything with elderflowers in it but since then, well, it’s a different story! Last June I made strawberry and elderflower jam and I’ve got to say, the lift the elderflowers gave the jam was amazing. This year I was keen to make more jam and perhaps some cordial too to make the taste of summer last a little longer. 

Armed with strawberries and elderflower heads (foraged from the trees which overhang the allotment fence) I got to work. 

Elderflower Cordial

  
Makes enough for one medium sized Kilner bottle

10 elderflower heads

300g caster sugar

1 pint boiling water

25g citric acid

One large orange

One lime

1. Gently rinse the elderflower heads to remove any little creatures. 

2. Put the sugar into a large mixing bowl and pour in the boiling water. Stir to dissolve the sugar and allow to cool slightly

3. Add the citric acid. Slice the fruit and add to the syrup. Finally pop in the elderflower heads. 

4. Cover the bowl with either a lid or cling film and allow to infuse for 24 hours. 

5. Strain the cordial through a sieve lined with a muslin square and transfer to a cooled sterilised bottle 

Elderflower and Strawberry cordial

  
Makes enough to fill 2 medium sized Kilner bottles with a little left over for “quality control” testing! 

10-15 elderflower heads

750g caster sugar

25g citric acid

225g strawberries (halved and hulled)

1 large unwaxed lemon

2 pints boiling water 

1. Gently rinse the elderflower heads to remove any little creatures and place into a large heatproof bowl. 

2. Add the sliced lemon, the citric acid and all of the sugar. 

3. Pour over the boiling water and stir gently to help dissolve the sugar.

Allow the mixture to cool for 10-15 min.

4. Add the strawberries and stir the infusion. Cover the bowl with either a lid or cling film and allow the mixture to rest. 

5. The mixture is going to infuse for about 72hours and will need to be stored in a cool darkish place. Give the strawberries a squish with a spoon to release their lovely flavour and stir the mixture twice a day. 

6. When ready to bottle up, strain the syrup through a sieve lined with a muslin cloth and pour into cold sterilised bottles. 

7. Quality test the leftovers poured over ice with some sparking water, a slice of lemon and a sprig of mint, summer in a glass 

Strawberry and Elderflower Jam

  
Makes enough to fill 3 standard sized jam jars

900g strawberries (washed, halved and hulled)

1kg bag jam sugar with added pectin

8-10 elderflower heads

Juice of 1 lemon

1. Gently rinse elderflower heads

2. Layer the strawberries and sugar in a large mixing bowl. Just before you’re ready to add your final layer, pop in the elderflower heads, add the last layer of strawberries and sugar and cover with a lid or cling film. 

3. Leave the fruit, flower and sugar mixture for 24 hours. The sugar will draw out the juice from the strawberries and by the time you’re ready to make the jam, there’ll be a lovely syrup suspending the strawberries. 

4. Carefully remove the elderflower heads and prepare the make the jam. 

Pop a small plate in the freezer (to check the jam has set later on) and put your scrupulously clean jam jars into a cold oven to sterilise while you’re making the jam. Turn the oven on and the temperature up to 120 degrees C

5. Put the fruity jam mixture into a large heavy based pan and add the lemon juice. It needs to be quite large as the jam mixture will rise and bubble like mad! 

6. Over a low heat, stir the syrup until all the sugar has dissolved. Don’t rush this step, you need to make sure ALL the sugar has dissolved otherwise you risk the sugar catching the bottom of the pan and burning. 

7. Once the sugar has completely disappeared, slowly increase the heat until the jam temperature comes up to 104 degrees C. If you don’t have a jam thermometer, don’t panic, you’ll know it’s pretty much there when it’s at a vigorous rolling boil. 

8. Let the jam boil for 4-5 min then remove from the heat. Grab your small plate from the freezer and using a spoon, drop some of the jam onto the plate. After 30 seconds push the mixture gently with your finger and see if the jam has formed a skin. If it has, you’ll see the skin wrinkle up as you push the jam- the wrinkle test! If it’s still quite runny, pop the pan back onto the heat for another minute or two then test again. 

9. Once you’re happy that the jam has reached its setting point and you’ve got wrinkly jam, you can remove the jam jars from the oven and carefully start to fill the hot jars with the hot jam. 

10. Once filled, pop on a wax disc and close with the lid*. 

Leave the jam to cool completely and store in the cupboard. 

Now I’ve got that fresh taste of summer bottled and preserved so anytime I need a taste of sunshine, even on the coldest of days, it’s just a trip to the kitchen away. 

* I usually boil the lids in a pan of water for about 20 min to sterilise. 
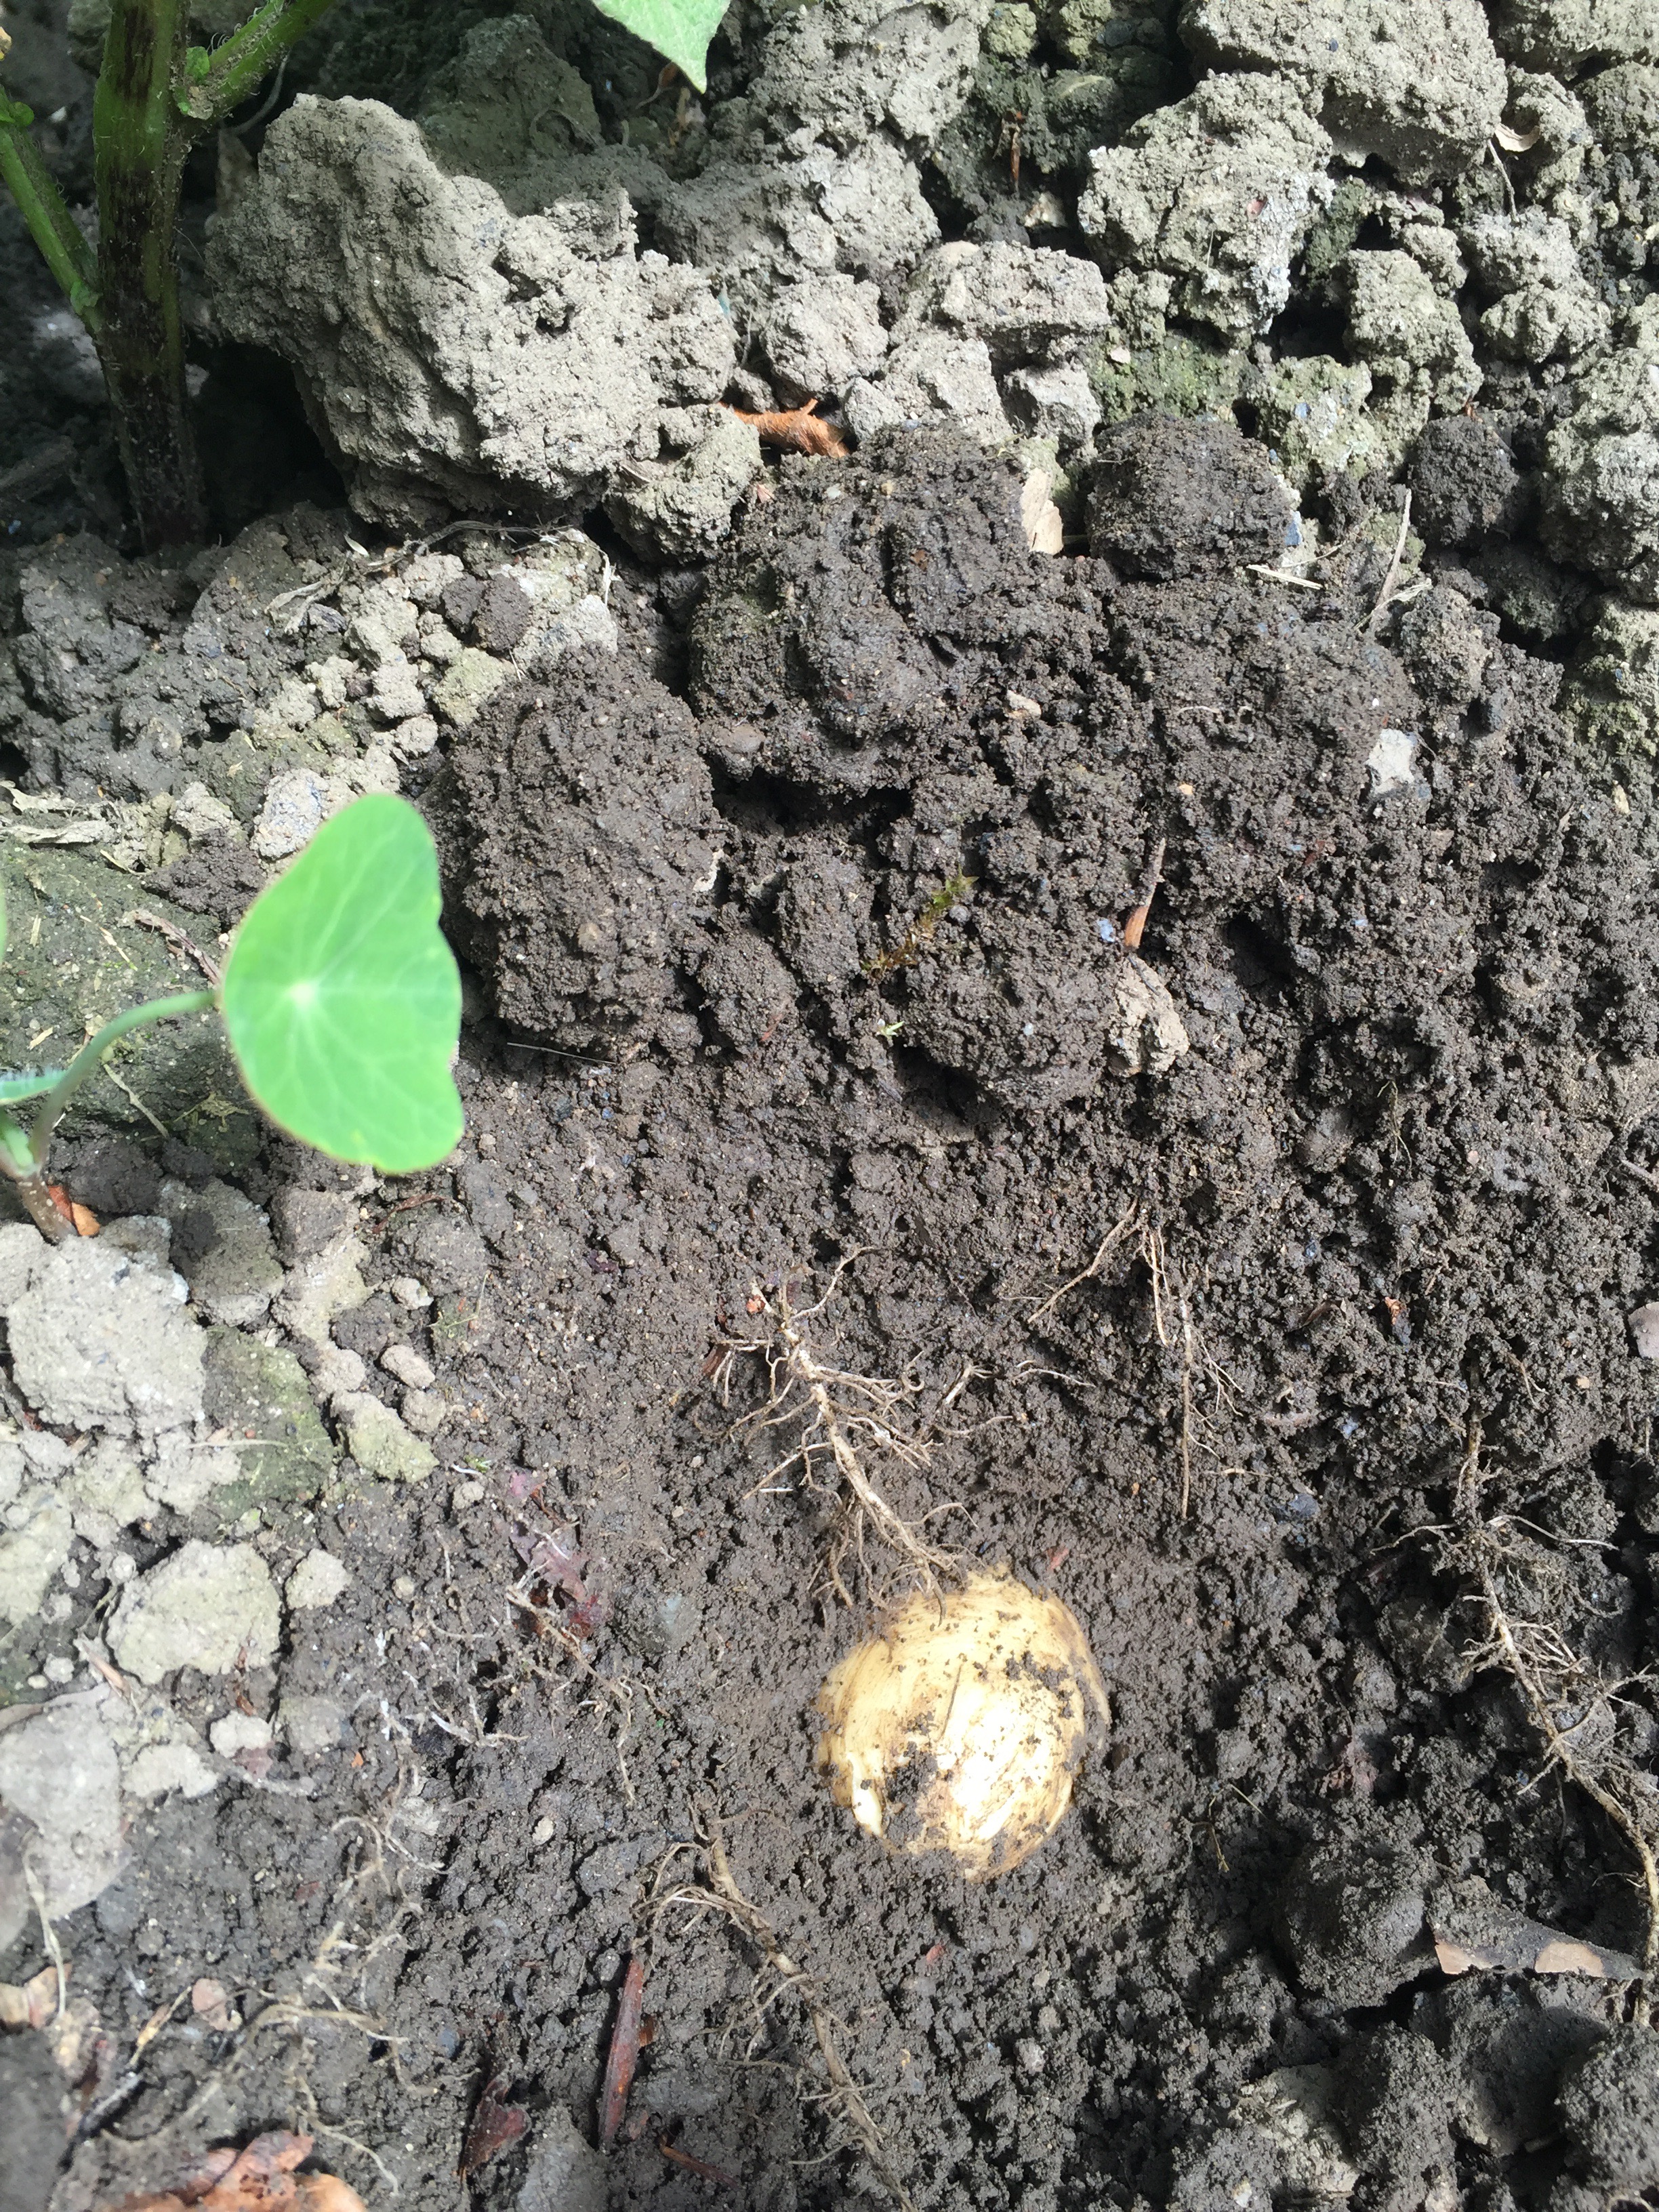


Slugfest

  
It’s so totally on. 

For he last few weeks, things have been ticking along nicely at the allotment. The weather has been a bit hit and miss, but other than that it’s been relatively uneventful. 

Until now 

Last weekend I had a trip away to visit my university pals so had a few days away from the allotment. 

Little did I know that my trip away would coincide with the biggest allotment event of the year…

SLUGFEST

It must’ve been a sell out event judging by the total decimation they left in their wake. 

  
There’s only one pumpkin plant left in the whole of the pumpkin patch, that’s right only one, out of 11 plants including all the courgettes. They must’ve thought it best to leave one as, you know, eating them all would be greedy! 

Now, for the slugs that couldn’t make the main event, they attended the fringe festival

SUNDOWN

They’ve eaten the sunflowers down to stalk stumps. All but 3 as, you know, it’s greedy to eat them all. 

(I was too sad to take a photo of the stumps)

All the time I’ve been growing vegetables I’ve prided myself on being an organic gardener, and I’ve not minded the odd leaf being nibbled here and there but today I’ve declared war. 

To all slugs and snails-

Be afraid…be very afraid

Wool pellets are coming

Here today, gone tomorrow?

  
I’ve been a bit late with everything at the allotment this year. It’s not for the lack of planning or enthusiasm, I was just a big scaredy cat about planting out when we had all that rubbish weather. I was worried it would be too cold/wet/windy for the delicate seedlings and all the plants would wither/rot/blow away. As such, I held off planting out, and delayed sowing the tender crops, such as beans and summer squash, hence why I’m so behind this year. 

The vegetables I have planted out so far, seem to be doing well, the potatoes are having a real growth spurt, I earthed them up less than a fortnight ago! 


Potatoes 2 weeks ago


Potatoes today

 
The broad beans are coming along nicely too. The second sowing of broad beans I planted directly into the ground are the Crimson flowered variety I grew last year, so I’m hoping for a lovely display of pink flowers (and delicious beans of course) later in the season. 

  
Today I started to make the climbing support for the peas. I’ve had the bamboo canes in place since the peas were sown but I couldn’t decide what to use for them to scramble up. Netting? Twiggy branches? Twine to the rescue! Got a bit creative with the twine making patterns between the canes, but why not be a bit creative I say! 

  
I’ve always been a bit nervous about sowing seeds directly into the ground at the allotment. There’s all manner of creatures out there waiting to eat the seedlings. This year I’ve thrown caution to the wind and sown a whole host of quick cropping seeds. The radish have germinated first, and its a delight to see their lovely leafy shoots all straight beneath the string row marker. There’s no sign of any leuttce yet and no sign of any carrots. I had a disaster with carrots last year, only 3 germinated, and they turned out to be the teeniest carrots in history. How I can grow dandelions and dock, both with MASSIVE tap roots but can’t grow carrots still mystifies me but we’ll see how these go. I had almost given up hope on the rest of the seeds but I spotted the thin green grass-like shoots of the Spring onions! Hooray! 

Radish


Single spring onion shoot

 
 The last job for the day was planting out the beetroot. I’ve never been able to grow beetroot, (perhaps they’re in cahoots with the carrots) but not wanting to be beaten, I started some off in modules a few weeks ago and low and behold they germinated! They’ve been hardened off at the allotment for the last week and it is time to get them planted out. 


Beetroot seedlings

 
This is the bit I’m worried about. Planting out the new seedlings. We know that the weather has been a bit off kilter recently, which unfortunately has resulted in a boom in the slug and snail population. We also know that slugs and snails will tend to eat the tender new shoots of vegetables. I’m hoping they’ll cut me some slack and hold off the beetroots, they’ve already worked their way through almost half of the sunflowers, surely they’ll be satisfied with what they’ve had already? We’ll see if the beetroot are still there in the morning!

Fingers crossed 

Bring me Sunshine


I’ve been having a bit of a dilemma recently about what to do with a certain section of the allotment. The area beside the cherry tree is currently sitting vacant, waiting to be put to use, but the ground leading away from the tree is, naturally, full of tree roots. I don’t want to damage the tree or the roots by regular digging but equally, I don’t want the space to be wasted. Then the solution came to me.

Fruit bushes

When I was young, my Granda grew vegetables in his back garden and at the bottom of the vegetable garden were the most delicious gooseberry bushes. I remember picking the ripe fruits for my grandma to make pies and puddings and I’d always get a few to eat straight from the bush as a reward.

I spent a few days last week researching the various types of gooseberry bushes and I decided on two varieties. Invicta and hinnonmaki red.

Both varieties have a good resistance to mildew which can plague gooseberry bushes and both will give high yields of fruit. Perfect.

On Friday I was able to spend the whole day at the allotment so planting the gooseberry bushes were first on my to do list.


I gave the area a quick dig over and set to work finding the perfect spot for the bushes. I want to make sure they get enough sun but are well spaced to allow me to put little fruit cages over them later in the season to stop the birds eating the fruit.

I dug the hole deep enough so that the top of the rootball would be level with the ground, and hey-presto! We have gooseberry bushes!


I’m not expecting much of a crop this year as I believe the fruit only forms on branches over a year old but to my delight I spotted these little fellas


Next up were the sunflowers. Last year I planted the seeds in March and I think I waited too long before planting them out so they didn’t grow to their full height. This year I waited until the end of April before sowing and I’ve been hardening them off for the last week or so, ready to be planted out earlier. I loved them along the fence last year, it was like having a whole wall of sunshine to brighten up the plot. I’ve got 2 types this year, Titan and ruby sunset, I’ve planted them out without knowing which type is in each pot, we’ll get a surprise when they open in August.


To finish that side of the allotment I’ve sown some seeds directly, radish, Spring onions both red and white varieties, carrots and lettuce. I’ve left some space to transplant the beetroot and rainbow chard I’m growing in modules at home.


I can’t wait to get this side of the allotment growing, all we need now is the sunshine ☀️

Timsey and the sweet peas 

  
Today I planted out the sweet peas at the allotment. They’ve been hardened off for about 2 weeks and with the weather forecast to be quite settled for the next few days I took the opportunity to let them loose in the big wide world. 

It’s the first time I’ve grown sweet peas and I’ve been really pleased with the germination rate. I pinched out the tops when the plants had 4 sets of leaves and I’m delighted that (as promised) more branches started growing out from the main stem. Brilliant!

  
At the allotment I’ve got a very special climbing support. 

Meet Timsey. 

 My sister made Timsey in high school and used her friend, Timsey, as the model. The original use was to hang clothes on but I think she will wear the sweet peas with style. 


I’ve picked a nice sunny spot for Timsey to hang out and I’ve taken a selection of the sweet peas and planted them at Timsey’s feet. The remaining plants I’ve given to my mum for her garden. 

A quick check over the allotment and more potatoes have started to pop up. I’m really excited for the salad blue ones, even their leaves have a blue hint to them! 


 The second sowing of broad beans have come through, these ones are the Crimson flowered variety I grew last year. I’d almost given up hope as they’ve been in the ground for 3 weeks! 

  
Last but not least I spotted the first 2 pea shoots to burst above ground. Everything is really starting to get growing now. 

  
Happy garden = happy gardener

BOOM!

  
It’s been a veritable growing explosion at the allotment this week. The cherry tree is in full bloom, the apple trees are just starting to blossom, the broadbeans the cat ate a few months ago have recovered brilliantly are starting to flower, I’ve even spotted flowers on the strawberries. 


 I’ve discovered a mystery currant tree too which has loads of flowers dangling off it. I must remember to check it regularly otherwise the birds will strip it before I can discover what kind of currant tree it is!   
Just when I thought it could get any better, I spotted the first few leaves of the potatoes popping up! 

  
Blooming marvellous 

Better late than never

  
Does anyone else feel like they’re running late planting vegetables this year? I’ve been waiting for ages to plant peas at the allotment, but for the last few weeks the weather has been more like autumn than Spring and it was just too wet and cold to sow peas. I’ve been really anxious about how late I’ve been in getting the peas sown, this time last year they had been in the ground for 4 weeks already! Thankfully the weather turned fairer last week so I high tailed it along to the allotment to get sowing. 

  
The plot I’m planting the peas into had potatoes growing in it last year and I can honestly say that the soil texture was (to my surprise) just fabulous which made turning it over for a final weeding that much easier. 

I made a flat bottomed drill then popped the peas in. I had good intentions of spacing them nice and evenly in two neat rows, but when I finished it appeared I had subconsciously adopted a more scatter and hope approach! 

  
Before covering them up I lined the bamboo canes along the edges of the drill and secured them all at the top. I’ll add some twine or netting for them to scramble up once they start growing. 

  
Last year I grew two types of peas, Hurst green shaft and Alderman. This year I’ve stuck to one type (Hurst green shaft) to allow more space between the rows in the vegetable beds. They will grow to about a meter in height compared to the 6 feet high alderman variety. 

When planning out the beds I had thought about using the remaining space to grow runner beans but now I’ve actually got the broad beans and the peas in I’m worried if I put the tall growing runner beans in, by the time they start climbing, they’ll cast a massive shadow across the rest of the bed. The alternative is to relocate the beans and plant something low growing in the space. I’m thinking courgettes or perhaps a dwarf bean like purple teepee. 

Rookie error there I think! 

The first harvest

  
Well, I’m not sure if this actually counts as a harvest but it’s the first veggie to make it home with me from the allotment. It’s also the first spring onion I’ve ever grown so I’m really pleased it’s survived when countless others have not! 

Had a quick assessment of the allotment after work today and everything seems ok, although there’s no signs of the potatoes yet but by my calculations they’ve got about another week before I’d expect to see them so I’m hoping they’re doing their thing underground just as they should. There’s also no sign of the second sowing of broadbeans I made about 3 weeks ago. The weather has been just awful these last few weeks so I’m keeping my fingers crossed they’ll pop up soon as we seem to be having a nice spell of warmer weather. 

Checking the fruit, there’s some lovely new growth on the strawberry plants I got last year. I’m hoping this years crop will be a bumper one. I’ve got my mind set on making loads of strawberry and elderflower jam, we’ve just finished the batch I made last year and it’s my absolute favourite, summer in a jar! 

 
I don’t know about anyone else but I never tire of seeing the rhubarb growing. I just love how the leaves start out all small and wrinkly then expand into the biggest monster leaves ever seen! 

   
 This week I’ll be getting the peas sown (at last) and starting off the squash and courgettes. The sweet peas and sunflowers can start to be hardened off and I might just get some winter cabbages started. I can’t wait to see all the vegetable beds full, let’s hope the nice weather is here for a while! 

Back yard beauty


I love my allotment. Its a little haven just for me.
It’s split into two sections, the first part is like a little garden, with a grassy area surrounded by roses and (at the moment) daffodils. The second part is where the vegetable beds are. I’ve not had a garden at home since I lived with my parents so I’m thrilled to now live in a flat which has a back yard. For months now I’ve been imagining the yard filled with flowers and pots and hanging baskets. (Perhaps the odd pot of salad leaves too) I’ve also been holding onto a wooden pallet with a view to transforming it into a beautifully rustic wall planter. (In reality I’ll probably butcher it and then throw it in a skip)

  
About 2 weeks ago my sister and I made a start on the back yard transformation. It’s quite a small space, with white painted brickwork, and the floor area is totally decked. We gave the decking a clean a week or so before, so we were good to get planting! 

  
We chose a mixture of plants both in size and colour. With the walls being white we wanted to add some additional colour and interest to the space by using a mixture of plant pots too. We’ve also repurposed an ikea waste paper basket I picked up free! 

  
Pansies, violas and little begonias went into the hanging baskets, I love how bright the colours are together. In a few weeks time they should be really be blooming. 

  
We made a lavender trough, and went wild with a planter mixture of tall red spikes and more pansies and violas. 

   
 We were a bit spoiled for choice with the climbers so we went for everything; Clematis, climbing jasmine, Passion flower and a honeysuckle! I know there’s a lot going on but if they actually climb and flower, I think it’ll look (and smell) amazing. We found some low growing flowers so we planted them in a long tub hoping they’ll fill out a bit and cascade over the sides. 

 
I’ve also planted some summer flowering bulbs, gladioli and freesia. I know they’re a bit old fashioned but I think they look lovely as cut flowers. I’ve never grown these before so we’ll see how they go. 

  
I’ve managed to get a herb bucket going with all the kitchen cooking essentials included, thyme, rosemary, sage and oregano, and this week I’ve sown some wild rocket and spinach to be planted up into outside pots when the weather settles a bit. I can’t wait to just nip outside to pick fresh leaves and herbs to cook with.

Ps. I’ve not attempted to up cycle the wooden pallet yet, I’m still working up the courage to hack it to pieces but I’m sure there’ll be an update about that soon!